Most families think about emergency power reactively — after a storm has already knocked out the lights, or after a friend’s outage story makes the news. Building a kit in advance means you’re not scrambling to figure out wattage math or standing in a checkout line the night before a hurricane makes landfall. Here’s how to put together a complete, realistic emergency power kit, sized to your household’s actual needs.
Step 1: List What Actually Needs Power
Before buying anything, walk through your home and write down what you’d genuinely need to keep running — not everything you own, just what matters during an outage of a few hours to a few days.
Typical priority tiers:
- Critical (non-negotiable): medical equipment (CPAP, oxygen concentrators, insulin refrigeration), phones for emergency communication, lighting for safety.
- Important: refrigerator/freezer, Wi-Fi router and modem, laptop for work or information.
- Comfort: space heater or fan, TV, gaming devices, coffee maker.
Most families only need to seriously plan around tiers 1 and 2. Tier 3 items are worth including if you have capacity to spare, but shouldn’t drive your purchasing decisions.
Step 2: Calculate Your Real Power Needs
For each item on your list, note its running wattage (check the label or manual) and roughly how many hours per day you’d realistically use it during an outage.
| Item | Running Watts | Hours/Day | Watt-Hours/Day |
|---|---|---|---|
| Refrigerator | 150W (cycling) | 24h (intermittent) | ~800-1,000Wh |
| CPAP machine | 40W | 8h | 320Wh |
| Phone charging (x3) | 15W each | 3h | 135Wh |
| LED lighting (x4 bulbs) | 8W each | 5h | 160Wh |
| Wi-Fi router + modem | 25W | 24h | 600Wh |
| Laptop | 50W | 4h | 200Wh |
Adding up a realistic combination (fridge, CPAP, lighting, phones, router) gives a rough daily need of 1,500-2,200Wh per day for a household prioritizing the essentials — which is a useful benchmark when deciding how much power station capacity to buy, or how much solar recharging you’d need to sustain it.
Step 3: Choose Your Core Power Source
Based on the calculation above, most families land in one of these tiers:
- Light needs (phones, lighting, router, occasional device charging): A single 300-500Wh power station covers this comfortably for a day or two between charges.
- Moderate needs (add a refrigerator or CPAP): A 1,000-1,500Wh power station is the practical minimum, ideally with solar input options for outages beyond a day.
- Heavy needs (fridge, medical equipment, some heating, multiple people’s devices): A 2,000Wh+ unit, or a modular system that can add battery packs, is worth the higher upfront cost.
If your household includes anyone dependent on medical equipment, it’s worth erring toward the higher end of these tiers rather than the minimum — running out of power on a CPAP or refrigerated medication isn’t a risk worth trimming a budget over.
Step 4: Add a Recharging Plan
A power station is only useful until its battery runs out, so the kit isn’t complete without a way to recharge it during an extended outage:
- Solar panels (100-400W foldable panels) are the most practical option for outages lasting more than a day, since they don’t depend on fuel availability.
- A vehicle can recharge many power stations via a 12V car outlet, though this is slower than solar or wall charging and uses gasoline, which may itself be scarce during major regional disasters.
- A generator, if you already own one, can also recharge a power station faster than solar, useful as a backup recharging method rather than running appliances directly off the generator.
Step 5: Build the Physical Kit
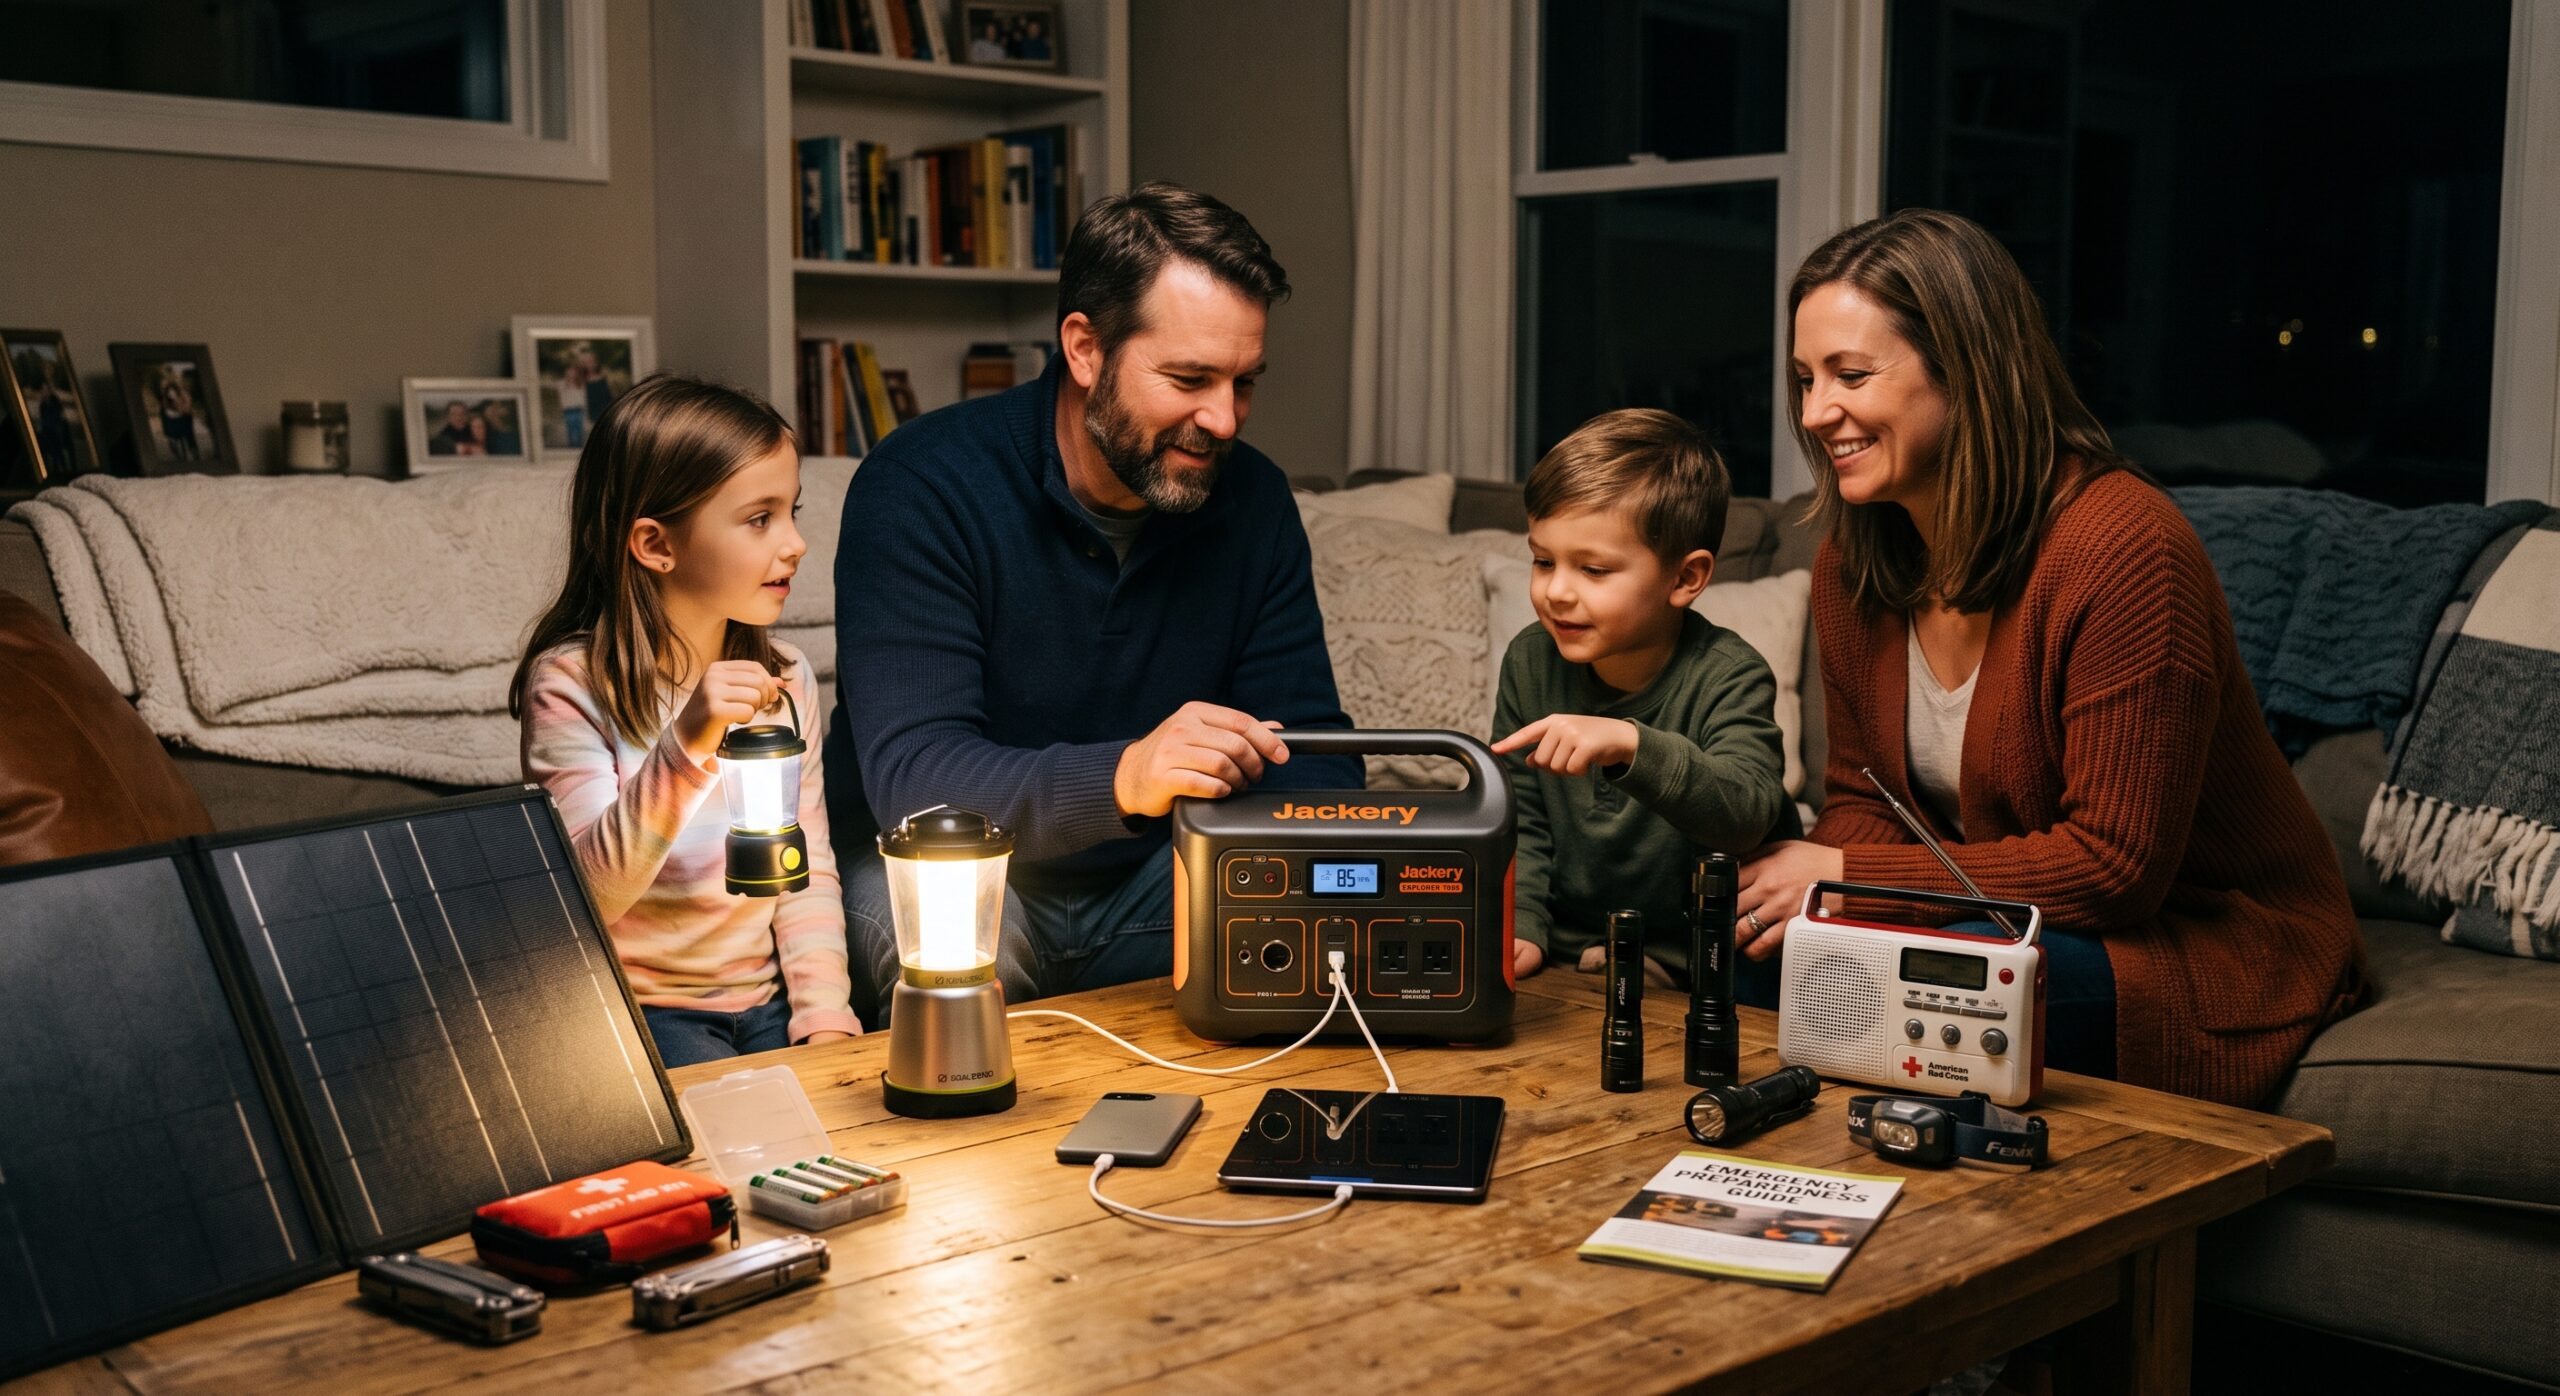
Beyond the power station itself, a complete kit should include:
- Charging cables for every device you plan to power, kept together rather than scattered around the house.
- A small notebook or printed sheet listing what to plug in first, in priority order, so decisions during a stressful outage are already made in advance.
- Extra batteries for flashlights or other battery-powered essentials, since not everything should draw from the power station.
- A weatherproof bag or bin to keep the power station, cables, and solar panel together and easy to grab quickly, especially if evacuation is a possibility.
Step 6: Test the Kit Before You Need It
This step gets skipped constantly, and it’s the one that matters most. At least twice a year:
- Fully charge the power station, then run your actual priority devices off it for a few hours to confirm the setup works as expected.
- Test the solar panel connection in daylight, confirming it actually recharges the unit rather than assuming it will work based on the spec sheet.
- Check the power station’s charge level even when it hasn’t been used, since lithium batteries slowly self-discharge over months of storage.
- Walk through the priority list with the whole family, so everyone knows what gets plugged in first if you’re not home when the power goes out.
A Sample Kit for a Family of Four
- 1x power station, 1,500-2,000Wh (covers fridge, lighting, phones, router, laptop for 1-2 days)
- 1x foldable 200W solar panel (recharges the unit in roughly 6-8 hours of good sun)
- Charging cables for all household phones/laptops, stored together in the kit
- A small LED lantern or headlamp per family member, battery-powered separately from the power station
- A printed priority list taped inside the kit or stored on a phone’s notes app (accessible even offline)
- A backup battery pack (10,000-20,000mAh) for phones specifically, so the main power station isn’t drained just for device charging
Bottom Line
A solid emergency power kit isn’t about buying the biggest, most expensive power station available — it’s about correctly sizing your setup to your family’s real, prioritized needs, then making sure it’s tested and ready before an outage happens. Starting with an honest list of what actually matters (medical equipment, safety lighting, communication, and food storage) keeps the process focused, affordable, and far more useful in the moment than a kit built around guesswork.