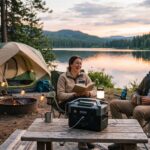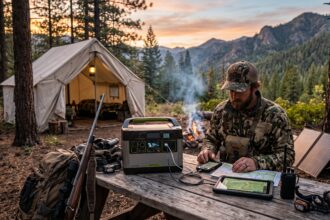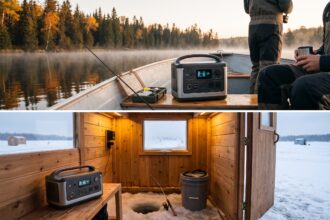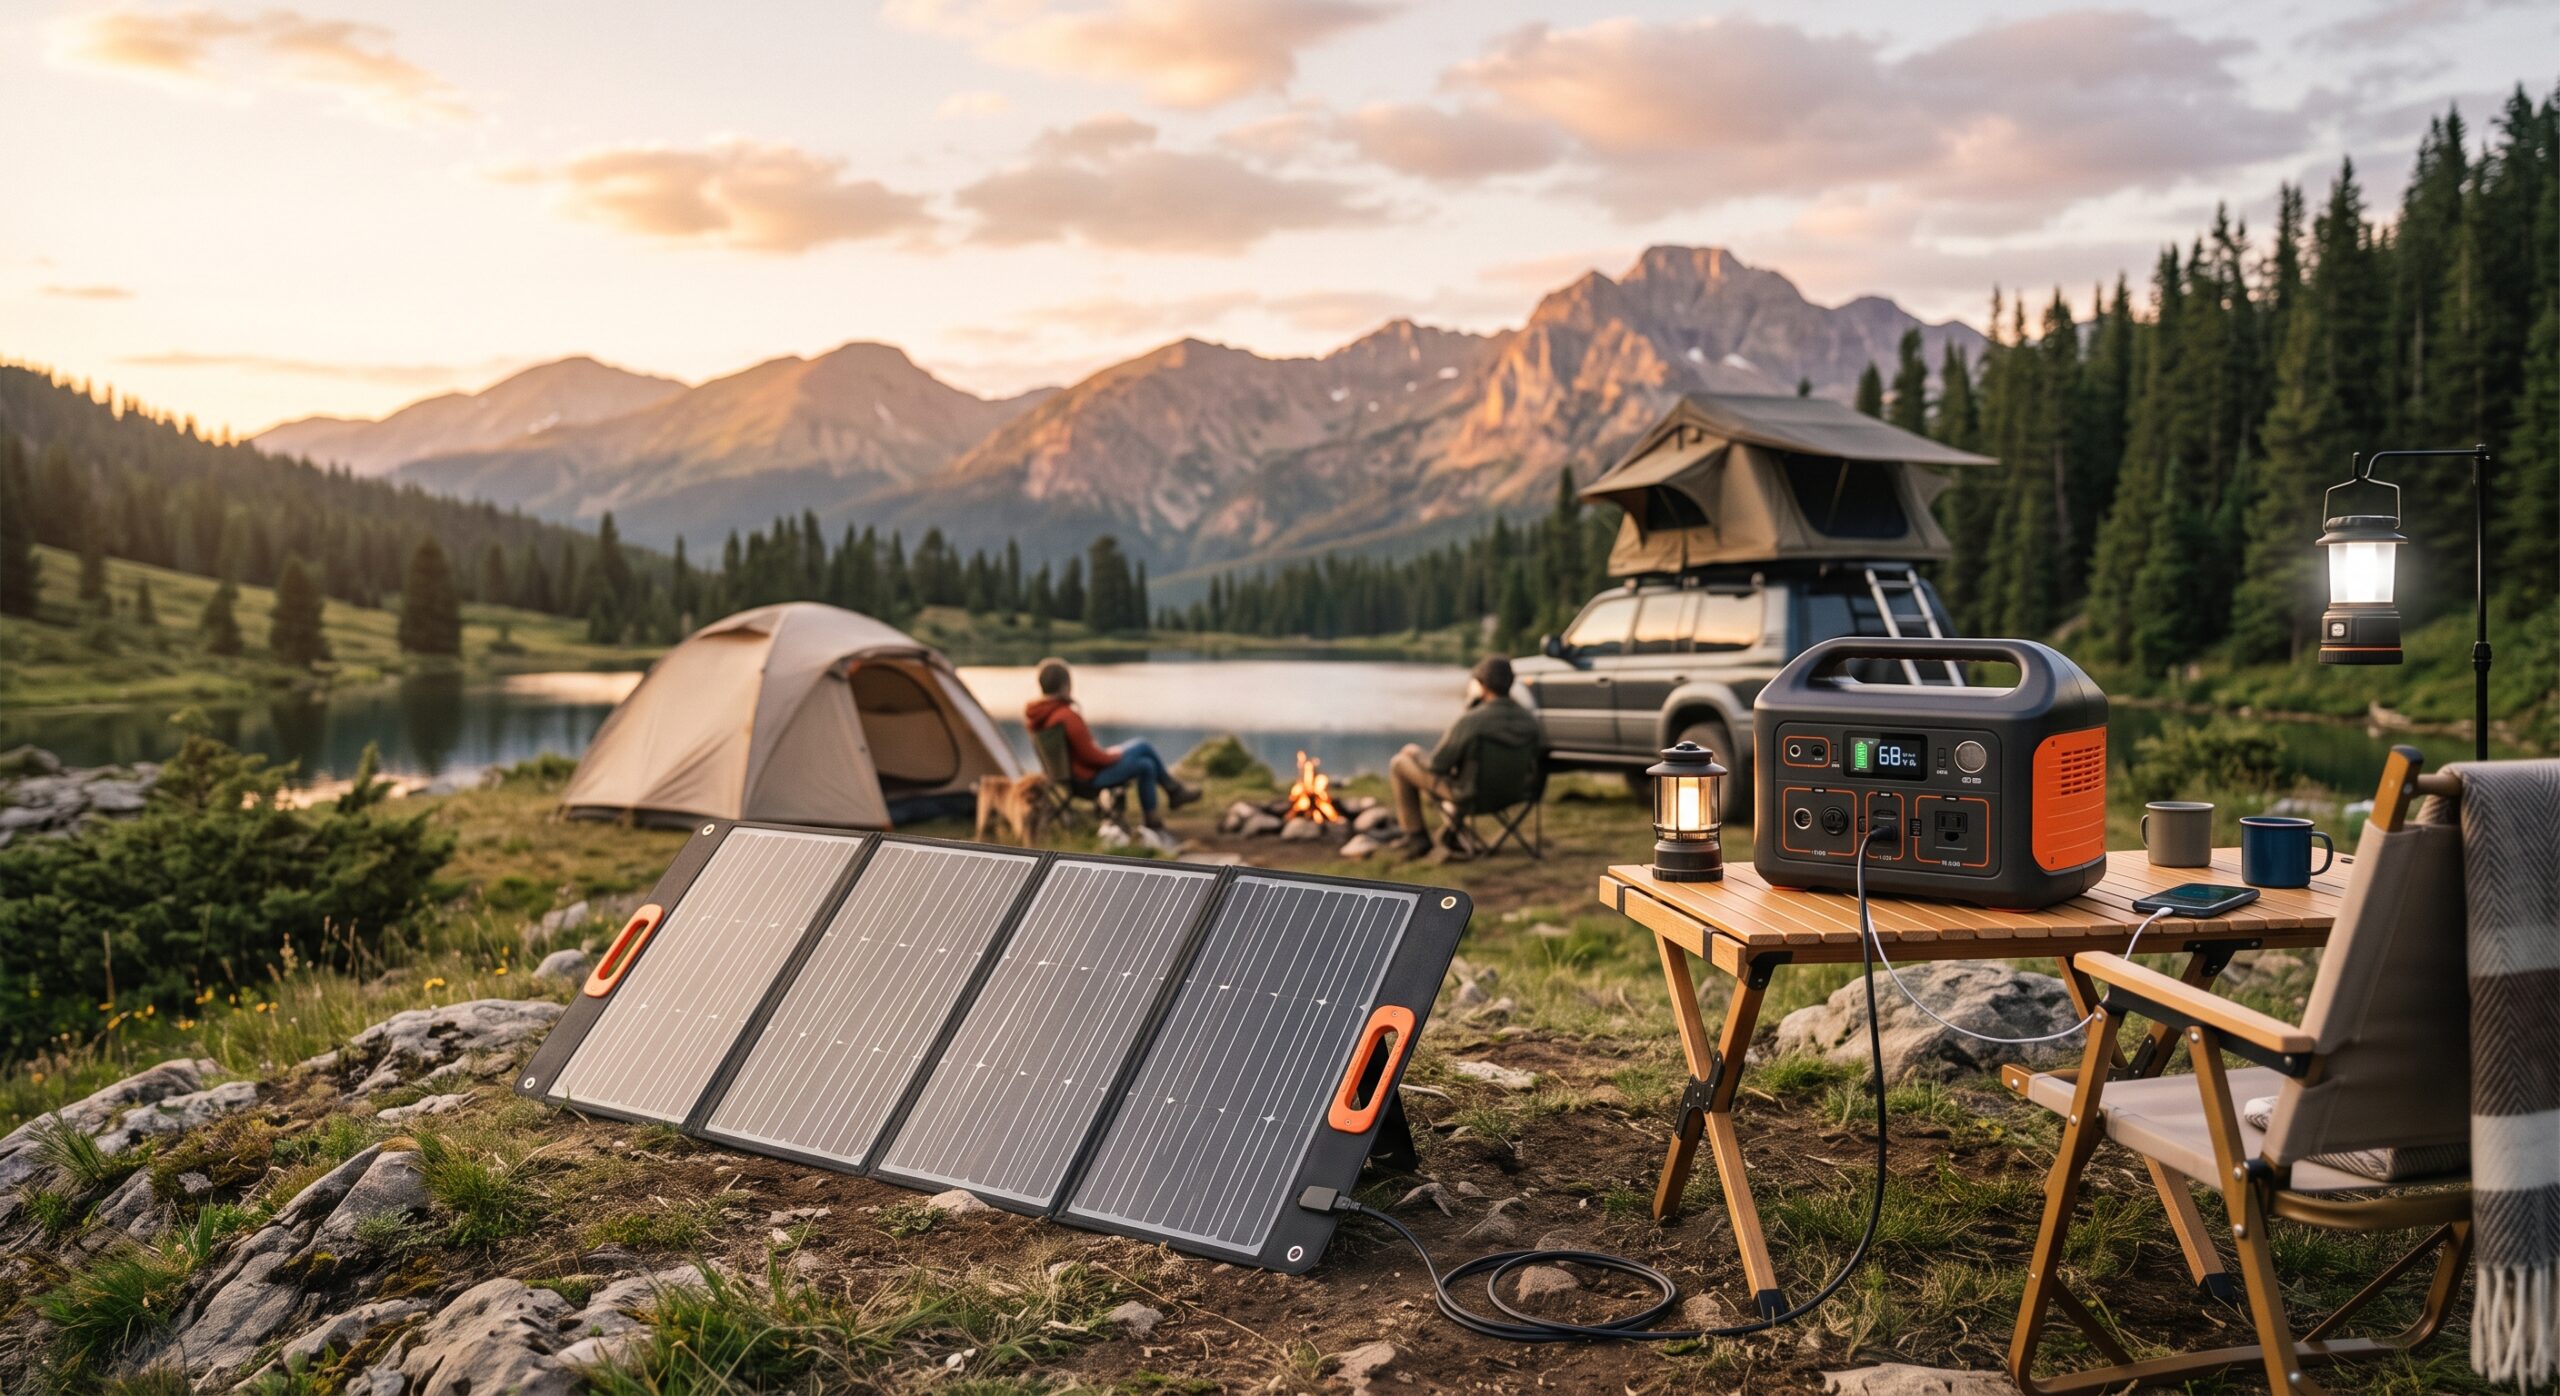
A power station alone gives you a fixed amount of capacity — once it’s depleted, the trip’s electrical needs are over until you find an outlet. Pairing it with a solar panel kit turns that fixed capacity into an ongoing supply, which is often the difference between a comfortable week-long trip and a rationed, anxious one. This guide covers how to choose the right solar panel kit for your camping power station, what actually affects real-world charging speed, and which options fit different types of trips.
Why Pair Solar With a Camping Power Station at All?
For short trips (a weekend or two nights), solar is optional — most power stations have enough capacity to cover typical camping loads without recharging. Solar becomes genuinely valuable once trips stretch to 3+ days without access to a wall outlet or vehicle charging, since it turns a power station from «a battery that eventually runs out» into «a system that can sustain itself indefinitely,» weather permitting.
Matching Solar Wattage to Your Power Station
As a general rule of thumb, real-world solar input (accounting for angle, cloud cover, and panel efficiency losses) delivers roughly 60-75% of a panel’s rated wattage under good conditions — a 200W panel might realistically deliver 120-150W of actual charging power on a clear day, less on a hazy or partly cloudy one.
| Power Station Capacity | Recommended Solar Wattage | Approx. Full Recharge Time (Good Sun) |
|---|---|---|
| 300Wh | 60-100W | 4-6 hours |
| 500Wh | 100-160W | 5-7 hours |
| 1,000Wh | 200W | 6-8 hours |
| 1,500Wh | 300-400W | 6-9 hours |
| 2,000Wh+ | 400W+ | 7-10 hours |
These figures assume clear skies and reasonably well-angled panels — expect meaningfully slower charging on cloudy days or if panels are laid flat rather than angled toward the sun.
Types of Solar Panels for Camping
Foldable/Portable Panels
The most common choice for camping, these fold up like a briefcase for storage and unfold to their full rated wattage at the campsite. They’re the best balance of portability and output for most car camping and overlanding setups.
Best for: Most camping trips where you’re setting up and breaking down a campsite regularly.
Rigid Panels (Roof-Mounted)
Permanently mounted to a vehicle or RV roof, rigid panels charge automatically while driving or parked, without any daily setup. They’re less flexible (fixed angle, can’t be repositioned for shade avoidance) but require zero effort once installed.
Best for: Overlanding rigs, vans, and RVs where the vehicle itself serves as base camp for extended periods.
Ultralight/Backpacking Panels
Smaller and lighter than standard foldable panels, sacrificing some wattage for portability. These pair well with smaller, backpacking-focused power stations rather than larger camping units.
Best for: Backpacking trips where every ounce matters more than charging speed.
Top Solar Panel Kits by Use Case
Best for Weekend/Car Camping: 100-200W Foldable Panel
A single 100-200W foldable panel is enough to meaningfully top off a 300-1,000Wh power station across a day, covering typical weekend camping loads (lighting, charging, light fridge use) without needing a larger, heavier setup.
Best for Extended Off-Grid Trips: 300-400W Panel Kit (or Two 200W Panels)
For trips lasting 5+ days without recharge access, stepping up to 300-400W of solar (either a single larger panel or two smaller ones connected together) provides enough daily input to sustain a fridge and other loads indefinitely under decent sun conditions, rather than just slowing the rate of depletion.
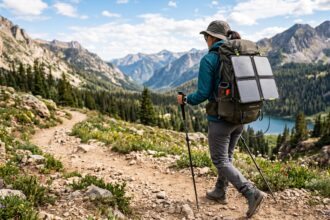
Best for Backpacking: 20-60W Ultralight Panel
Lightweight, foldable panels in this range add meaningful charging ability for phones, headlamps, and small devices on multi-day backpacking trips, without adding significant pack weight compared to a standard camping-grade panel.
Best for Overlanding/Vehicle-Based Trips: Roof-Mounted Rigid Panel + Portable Backup
A permanently mounted rigid panel (100-200W) handles baseline daily charging automatically while driving or parked, while a smaller portable panel serves as a backup for shaded campsites or overcast days where the fixed roof angle isn’t catching much sun.
Factors That Affect Real-World Solar Charging Speed
- Panel angle relative to the sun. A panel laid flat on the ground can lose 20-30% of its potential output compared to one angled to face the sun more directly — most foldable panels include built-in kickstands for this reason.
- Cloud cover and haze. Even light cloud cover can reduce output by 30-50%; heavy overcast conditions can drop it by 70-90%, which matters a lot for planning multi-day trips around variable weather.
- Shade from trees or terrain. Even partial shade on a portion of a panel can disproportionately reduce total output, since many panel designs suffer more than a simple percentage reduction when only part of the surface is shaded.
- Panel cleanliness. Dust and dirt accumulated over a dusty, unpaved camping trip can measurably reduce charging efficiency if not wiped down periodically.
- Cable length and connection quality. Longer cable runs between panel and power station introduce some voltage drop; keeping cables as short as practical and connections clean/secure helps maintain efficiency.
Setting Up Solar Panels for Best Performance
- Position panels facing true south (in the northern hemisphere) or as close to direct sun exposure as the campsite allows.
- Angle panels toward the sun rather than laying them flat — even a rough 30-45 degree angle meaningfully improves output over a flat placement.
- Reposition periodically through the day if you’re actively managing charging speed, since the sun’s angle shifts significantly from morning to afternoon.
- Keep panels away from shade sources like trees, vehicles, or tents, even partial shade during peak sun hours.
- Monitor the power station’s charging display periodically to confirm the setup is actually delivering meaningful input, rather than assuming based on the panel’s rated wattage alone.
Compatibility: Do You Need the Same Brand?
Most portable power stations accept solar input through a standard connector (often MC4 or a proprietary barrel connector with an adapter), and many brands’ panels are cross-compatible with adapters, though matching voltage and connector type matters. Buying the same brand’s panel as your power station is the simplest way to guarantee compatibility and avoid needing extra adapters, but third-party panels can work well as a budget alternative if you confirm voltage compatibility and use the correct connector adapter.
Bottom Line
For most camping setups, pairing a power station with an appropriately sized foldable solar panel — roughly 100-200W for typical car camping, 300-400W for extended off-grid trips — turns a limited battery into a sustainable power source for trips of any length, as long as sun conditions cooperate. Matching panel wattage to your power station’s capacity, positioning panels correctly, and understanding the real-world factors (cloud cover, shade, angle) that reduce output from the rated spec are what separate a solar setup that actually keeps you charged indefinitely from one that just slightly slows down how quickly the battery runs dry.